
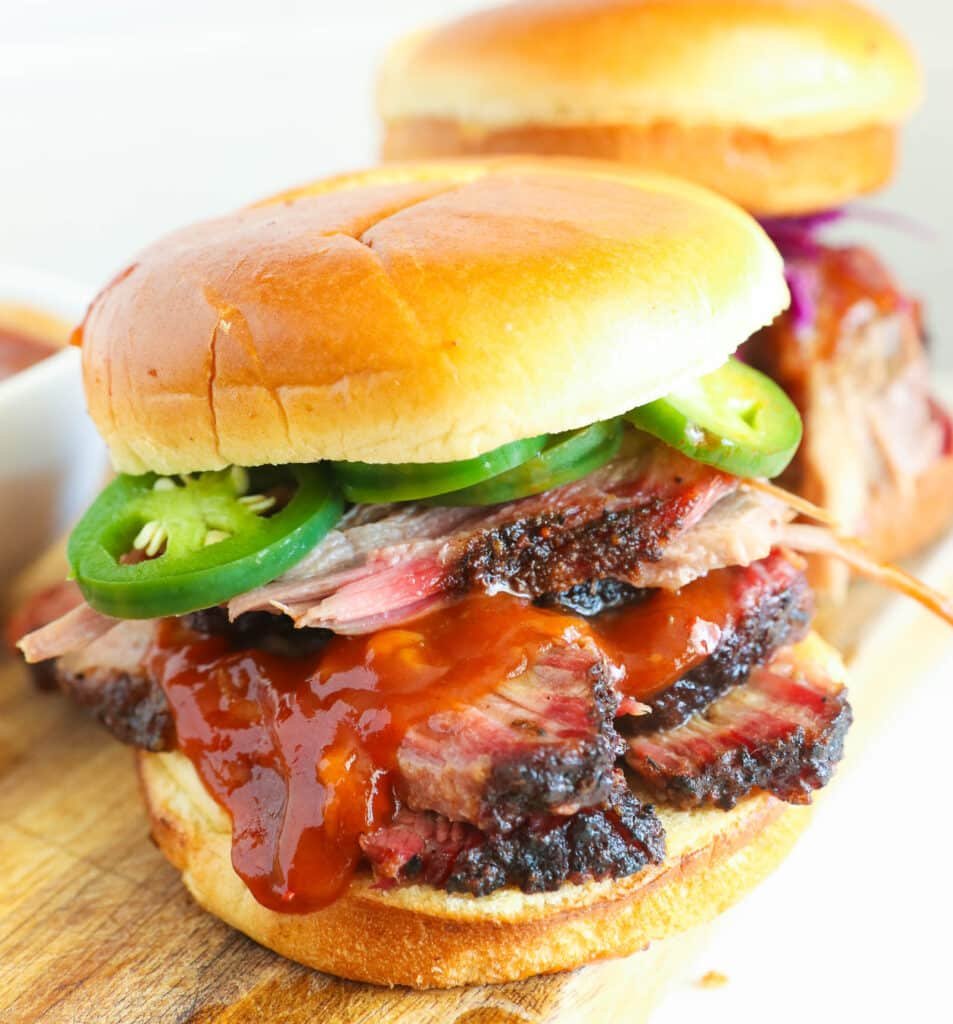
Sliced Beef Brisket Sandwich Recipe (Slow-Cooked & Tender)
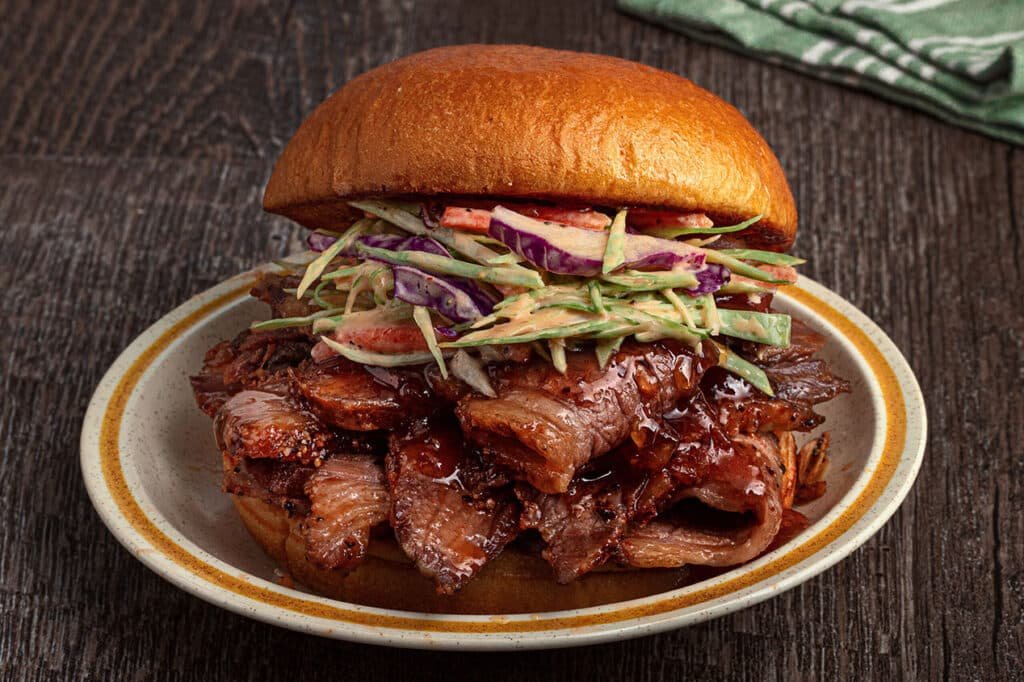
This is brisket the home-kitchen way: a whole chuck of beef seared dark, then braised low and slow in a covered Dutch oven until it surrenders into fork-tender, BBQ-soaked shreds. Piled onto a toasted bun with a little slaw and a few pickles, it gives you the smoky, saucy payoff of a barbecue joint without ever lighting a smoker.
Why you'll love this
- A hard sear plus a 4-5 hour oven braise melts the brisket's collagen into juicy, pull-apart meat
- It cooks low at 300F so the connective tissue breaks down instead of seizing up tough
- Hands-off oven time means it practically babysits itself once it's in the pot
- The meat finishes back in its own BBQ-and-beef-broth sauce, so every bun gets glossy and flavorful
Key ingredients & swaps
- Beef brisket (3-4 lb) — the star; a tough, collagen-rich cut that only turns tender with long, slow moist heat, so don't rush it or try to cook it fast
- BBQ sauce — the braising medium and the finishing glaze; toss the cooked meat with only about half and reserve the rest for serving so the sandwiches don't dry out on reheating
- Beef broth — deglazes the seared pan and lifts those browned bits into the sauce, building a deeper, beefier base than sauce alone
- Brown sugar and the rub spices — salt, pepper, garlic and onion powder season deep while the brown sugar helps the crust caramelize, so rub it on generously before searing
- Olive oil — gets the Dutch oven hot enough for a real sear; you want it shimmering, not smoking, before the meat goes in
- Sandwich buns plus toppings — soft buns that hold up to juicy meat; toast them so they don't go soggy, and add slaw, pickles or raw onion for crunch and acidity to cut the richness
How to make it (step by step)
-
 1
1Season and preheat
Heat the oven to 300F. Pat the brisket dry and rub it generously all over with salt, pepper, garlic powder, onion powder and a little brown sugar so it has a well-seasoned crust to build on.
-
 2
2Sear it dark
Heat olive oil in a Dutch oven over medium-high until shimmering, then sear the brisket on every side until deeply browned, about 3 minutes a side. Don't move it early; that hard crust is where a lot of the flavor lives.
-
 3
3Deglaze the pot
Lift the brisket out and pour in the beef broth, scraping up all the stuck-on browned bits with a spoon. Those bits dissolve into the liquid and become the backbone of your sauce.
-
 4
4Sauce and cover
Return the brisket to the pot and add enough BBQ sauce to nearly cover it. Clamp on the lid so the steam stays trapped and keeps the meat moist through the long cook.
-
 5
5Braise low and slow
Transfer to the oven and cook 4-5 hours. It's done when a fork slides in and twists with almost no resistance and the meat shreds easily, around 195F internally; if it still feels tight, give it more time rather than pulling it early.
-
 6
6Rest and sauce
Lift the brisket out and let it rest 10-15 minutes so the juices settle back into the meat. Then slice against the grain or shred it, and fold it back into the sauce so every piece stays coated and juicy.
-
7
Toast and build
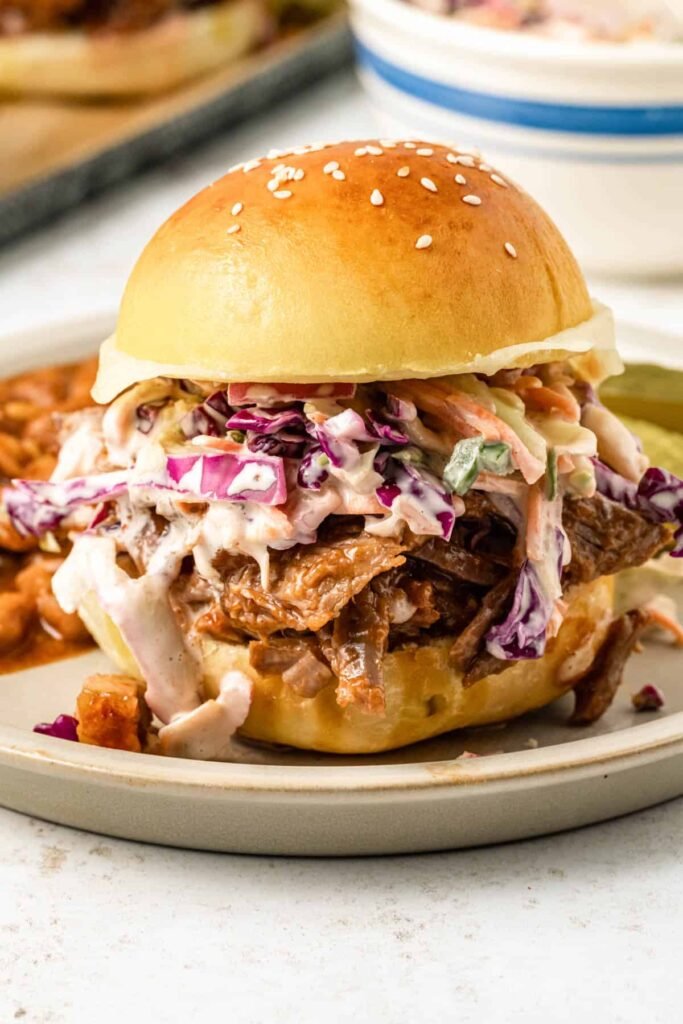
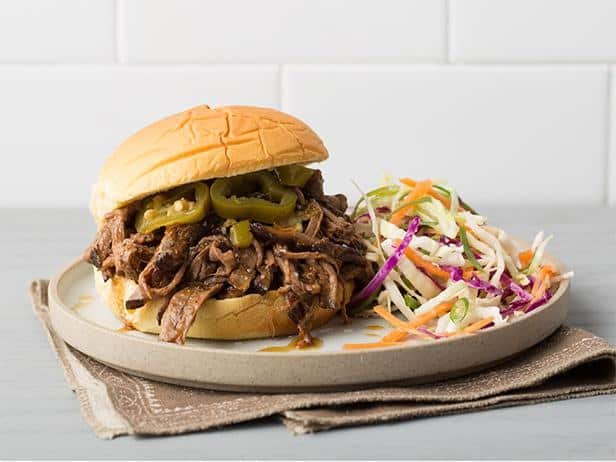
Lightly toast the buns so they hold up to the saucy meat, then pile on a generous portion. Finish with coleslaw, pickles or onions for crunch and a little acidity to balance the richness.
Pro tips
- Cook to feel, not the clock: pull it only when a fork twists freely and it hits about 195F internally, even if that takes longer than 5 hours.
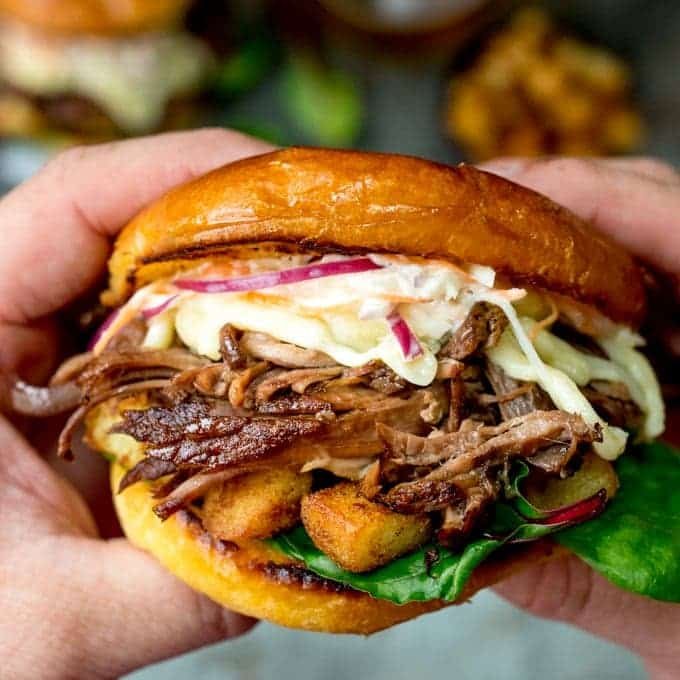
- Slice against the grain (across the visible lines of muscle fiber) for the most tender bite; for a saucier, denser sandwich, shred it instead.
- Resting before you cut is not optional; skip it and the juices run out onto the board instead of staying in the meat.
- Sauce lightly and keep extra sauce on the side, which keeps the meat from going dry when you reheat leftovers.
Variations
- Spicy: stir chopped jalapenos or a spoon of hot sauce into the BBQ sauce, or top with pickled jalapenos.
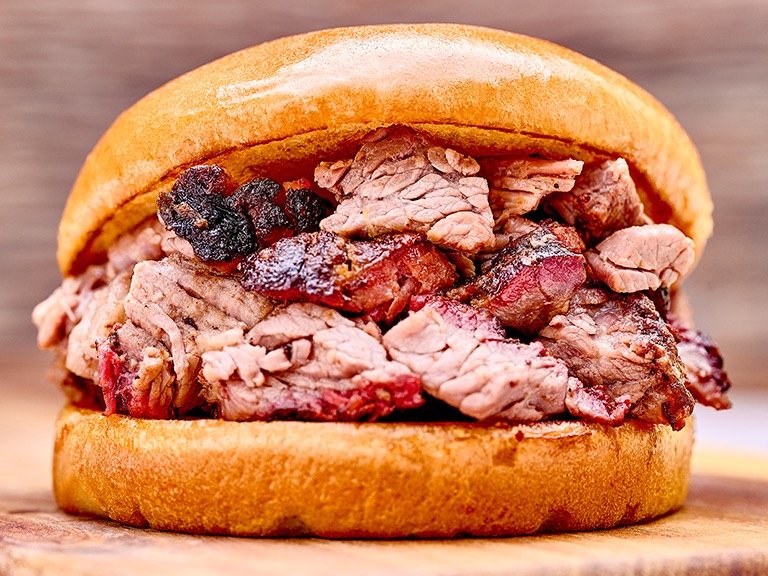
- Texas-style: skip the BBQ braise, keep the seasoning simple, slice the meat and serve the sauce only on the side.
- Loaded melt: add a slice of cheese and broil the open sandwich for a minute until it bubbles.
Storage & freezing
Cool and refrigerate the brisket in its sauce for up to 4 days, or freeze sliced in a single layer with some of the sauce for up to 3 months; reheat gently with a splash of beef broth so it stays moist.
Recipe
Sliced Beef Brisket Sandwich Recipe
Beef brisket sandwiches, a traditional comfort meal, exemplify the rich flavors and hearty satisfaction of barbecue cooking. From the smokey, delicate brisket nestled between pillowy buns to the harmonic balance of savory meats and acidic sauces, these sandwiches are a testament to culinary skill.
Ingredients
- Beef brisket (3-4 pounds)
- Sandwich buns (6-8)
- BBQ sauce
- Salt
- Black pepper
- Garlic powder
- Onion powder
- Brown sugar
- Olive oil
- Beef broth
- Optional toppings: coleslaw, pickles, onions
Instructions
- Preheat your oven to 300°F (150°C).
- Season the beef brisket generously with salt, black pepper, garlic powder, and onion powder.
- Heat olive oil in a large Dutch oven over medium-high heat. Sear the brisket on all sides until browned.
- Remove the brisket from the Dutch oven and set aside.
- In the same Dutch oven, add beef broth and deglaze the pan, scraping up any browned bits.
- Return the brisket to the Dutch oven and add enough BBQ sauce to cover the brisket.
- Cover the Dutch oven with a lid and transfer it to the preheated oven.
- Cook for 4-5 hours, or until the brisket is tender and easily shreds with a fork.
- Once cooked, remove the brisket from the Dutch oven and let it rest for 10-15 minutes.
- Slice or shred the brisket, then return it to the sauce in the Dutch oven and mix well.
- Toast the sandwich buns lightly.
- Assemble the sandwiches by placing a generous portion of brisket on each bun.
- Add optional toppings such as coleslaw, pickles, or onions if desired.
- Serve hot and enjoy!
Tips & notes
- Beef brisket sandwich is a classic comfort food that combines tender, flavorful beef brisket with the sweetness and tanginess of BBQ sauce, all sandwiched between soft buns. It's a hearty and satisfying meal perfect for gatherings, game days, or just a cozy night in. The slow-cooked brisket ensures that the meat is succulent and infused with delicious flavors, making every bite a delight. Customize with your favorite toppings to make it your own!
Watch how to make it
Nutrition · per serving (estimate)
Made this recipe?
Tap the stars to leave your rating — it helps other home cooks.
Frequently asked questions
Should I slice or shred the brisket for sandwiches?
Both work; it comes down to texture. Sliced against the grain gives a cleaner, firmer, deli-style sandwich, while shredding makes a denser, saucier build where every bite is packed with meat.
How do I know when the brisket is done?
Go by tenderness, not just time. It's ready when a fork slides in and twists with almost no resistance and the meat pulls apart easily, which is around 195F internally; if it's still tough, it simply needs longer.
Why is my brisket tough and dry?
Tough brisket is almost always undercooked rather than overcooked. The collagen needs hours of low, moist heat to melt, so if it's chewy, keep braising; cutting it with the grain or skipping the rest can also make it seem dry.
Do I have to sear the brisket first?
It's worth it. Searing builds a deeply browned crust and leaves flavorful bits in the pot that you deglaze into the sauce, giving the finished meat far more depth than braising raw meat would.
Can I make this in a slow cooker or Instant Pot instead?
Yes. Sear the brisket first, then braise it with the broth and sauce on low in a slow cooker for 8-10 hours, or pressure cook it for roughly 70-75 minutes with a natural release, until it shreds easily.
What's the best bun for a brisket sandwich?
Pick something sturdy that won't collapse under juicy meat, such as a brioche bun, potato roll, or a crusty French roll. Toasting the cut sides first adds a little structure and keeps the bread from going soggy.
Can I make it ahead for a party?
Brisket is excellent made ahead and many cooks think it tastes better the next day. Cool it in its sauce, refrigerate, then reheat gently with a splash of broth; keeping it in the liquid is what protects it from drying out.
Leave a review