
No-Bake Lotus Biscoff Cheesecake
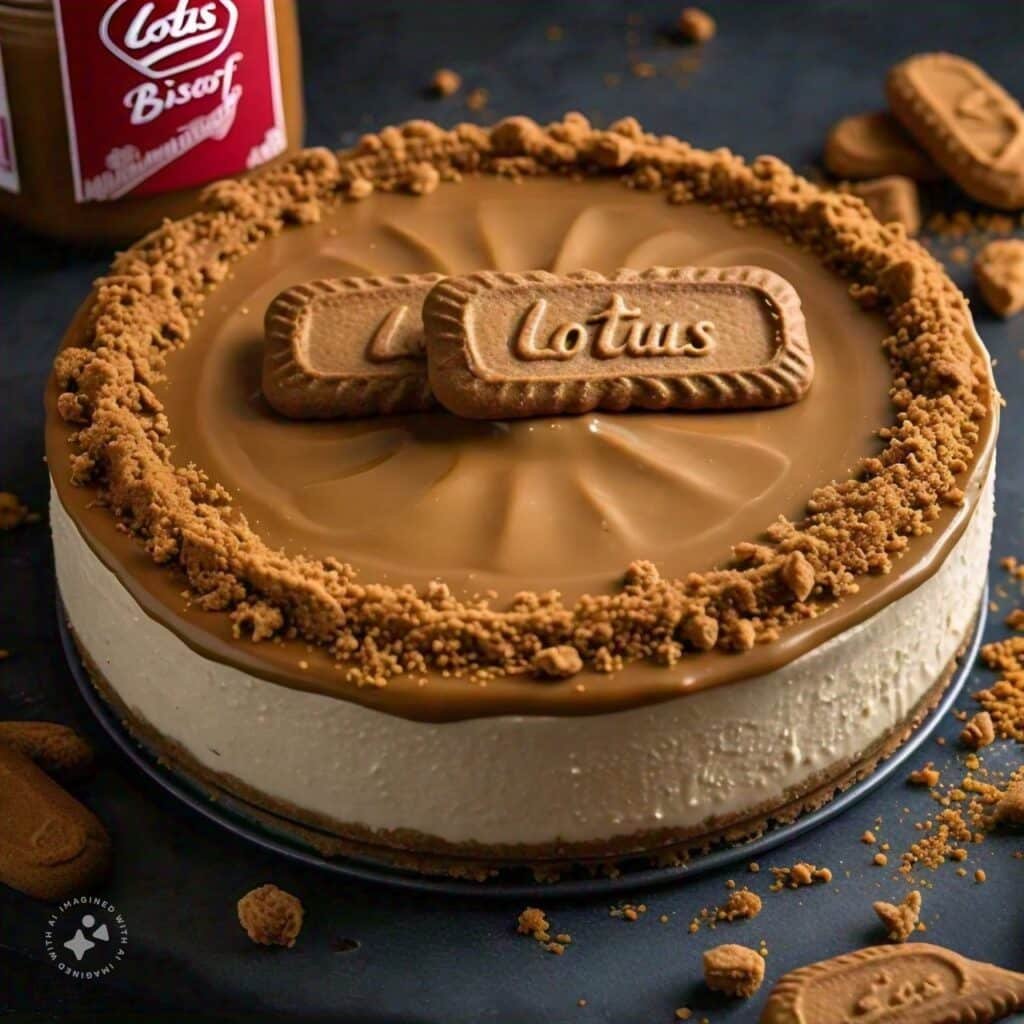
This Lotus Biscoff cheesecake is the no-bake speculoos one: a pressed Biscoff biscuit base, Biscoff spread beaten straight through the filling, melted Biscoff poured over the top, and whole biscuits standing around the edge. No oven, no water bath, no gelatin. It's a different dessert from the Biscoff salted caramel cheesecake, which is baked and much richer, and from a classic baked cheesecake, which is a slow weekend project with a water bath. This one is beat, fold, chill, pour, and it slices cleanest on day two.
Why you'll love this
- Biscoff in four places: crushed into the base, beaten through the filling, poured over the top, and standing whole around the edge
- No oven and no gelatin, because cold whipped cream and cold cookie butter do all the setting for you
- Not the same job as the Biscoff salted caramel cheesecake (baked, richer, caramel layer) or a classic baked cheesecake (water bath, slow cool)
- Whipped cream folded through keeps it light and almost mousse-like, yet firm enough to cut tidy wedges
- A real make-ahead: build it the night before and the day itself is just slicing
- Two bowls, a hand mixer and a springform pan, that's the whole kit
Key ingredients & how to use them
- Lotus Biscoff biscuits (200g, plus whole ones to finish) — the caramelized, cinnamon-warm backbone. Crush them to damp-sand crumbs with nothing bigger than a grain of rice, because large shards act as fault lines and the base splits along them under the knife.
- Unsalted butter, melted (100g) — the glue. Stir it in until every crumb has darkened and a squeezed handful holds its shape. Too little and the base crumbles; pour it in scalding hot and it soaks through, then sets into a greasy slab.
- Full-fat block cream cheese (500g) — the body of the filling. Bring it to cool room temperature, around 60 to 65°F, so it dents under a fingertip but still feels cold. Spreadable tub cheese and low-fat versions carry too much water and never set.
- Smooth Biscoff spread for the filling (200g) — flavor and structure, since cookie butter firms up as it chills. Stir the jar if the oil has separated. The crunchy style leaves biscuit grit that drags the blade and gives ragged slices.
- Heavy cream, 35% fat or higher (200ml) — this is what actually sets the cheesecake. Whip it straight from the fridge to firm peaks. Under-whipped cream leaves you with soup, and over-whipped cream turns grainy in a way no amount of chilling repairs.
- Powdered sugar (100g) — sweetens without grit, and its cornstarch tightens the set. Granulated sugar never dissolves in an unheated filling, so you'd taste sand in every bite.
- Vanilla extract (1 teaspoon) — rounds off the spice so the filling doesn't read as flatly sweet. Use real extract if you have it, since nothing here gets cooked.
- Biscoff spread for the topping (100g) — warmed just enough to pour, it sets back to a glossy sheet in the fridge. Keep it barely warm, no hotter than bath water, or it melts a channel down into the filling instead of sitting on top.
- A 9-inch springform pan — the removable ring is what lets you serve a no-bake cheesecake without wrecking the edge. Line the base with parchment so slices lift off cleanly, and check the clasp shuts tight before you press the crumbs in.
How to make it (step by step)
-
 1
1Start with the right temperatures
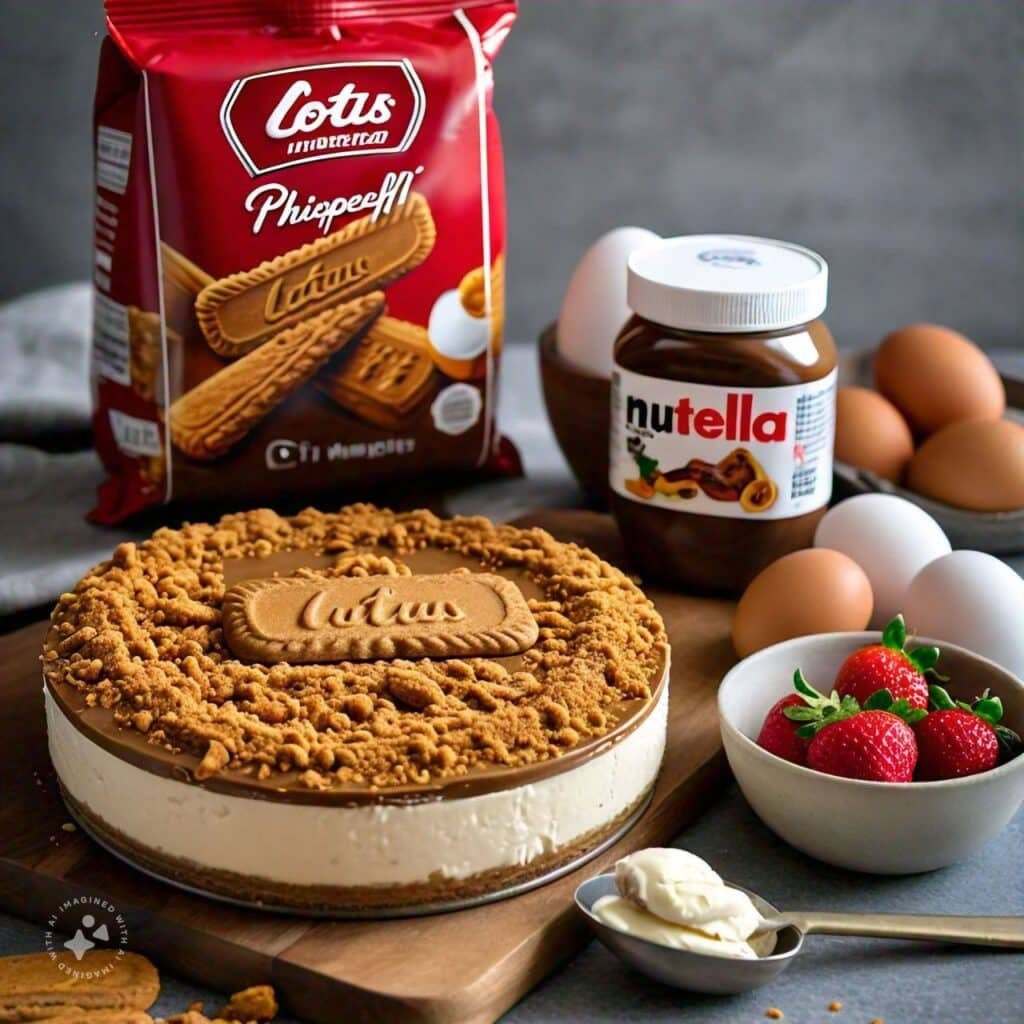
Take the cream cheese out of the fridge 20 to 30 minutes ahead. You want it cool but workable: it dents under a fingertip and still feels cold. Leave the heavy cream in the fridge until the second you whip it, line the base of a 9-inch springform with parchment, and set aside 8 whole biscuits for decorating.
-
2
Crush the biscuits properly fine
Blitz the 200g of biscuits in a food processor for 20 to 30 seconds. No processor? Seal them in a zip-top bag, roll hard, shake the bag to redistribute, then roll again. You're after the texture of damp sand with nothing bigger than a grain of rice, because big shards become the fault lines your base breaks along.
-
3
Press and compact the base
Stir the melted butter through the crumbs until every crumb has darkened and a squeezed handful holds together. Tip it into the pan, level it roughly, then press hard with the flat bottom of a measuring cup, working from the center outward and pushing a low rim up the sides. Press until the surface looks polished rather than fluffy. Chill 20 minutes while you make the filling, since cold butter is what holds it all together.
-
 4
4Beat the cream cheese smooth
Beat the cream cheese on medium for 30 to 60 seconds, scraping the bowl once, until it's lump-free and glossy. Add the powdered sugar and vanilla and beat 20 seconds more. Then stop. Past the point of smooth you're only warming and slackening the cheese, and slack cream cheese is the number one reason a no-bake filling stays soft.
-
 5
5Beat in the Biscoff spread
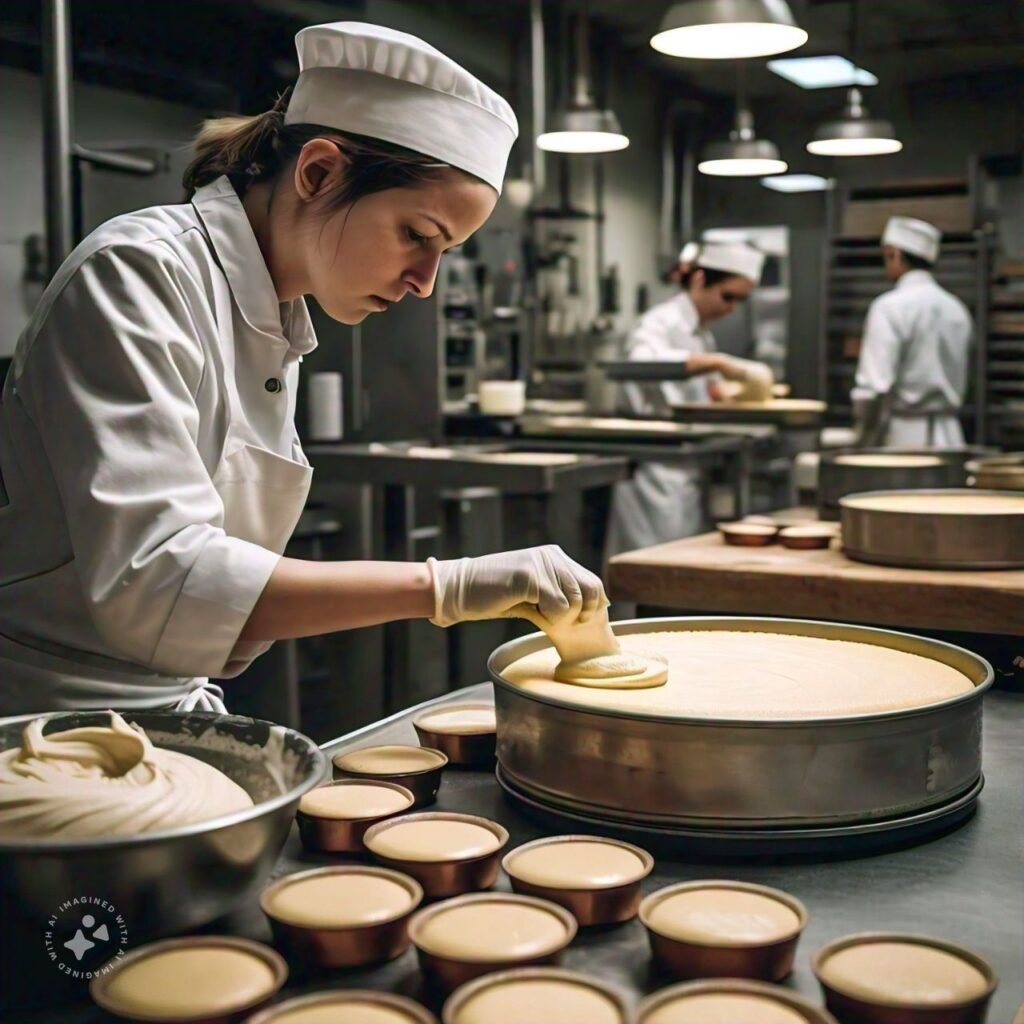
Add the 200g of smooth Biscoff spread and beat on low for 20 to 30 seconds, only until the color is even and no pale streaks are left. Stir the jar first if oil has pooled on top. The mixture should be thick enough to hold a soft ridge from the beater, and it will firm up much more in the fridge as the cookie butter chills.
-
6
Whip the cream to firm peaks
In a separate cold bowl, whip the 200ml of heavy cream on medium speed, not high. Stop when the beaters leave clear tracks and a lifted peak stands with just a slight curl at the tip. Medium speed buys you roughly 30 extra seconds of margin at the finish line. If you spot the faintest grainy, cottage-cheese look around the edge of the bowl, you've gone a beat too far.
-
7
Fold, and know when to stop
Stir a third of the whipped cream into the Biscoff mixture to loosen it, then add the rest and switch to a spatula. Cut down through the middle, sweep along the bottom, lift, and turn the bowl a quarter turn. Stop the moment the color is uniform and the mixture holds a ridge for a second before easing back, usually 15 to 20 folds. A faint streak left behind is safer than a dense, over-worked filling.
-
 8
8Fill and smooth the top
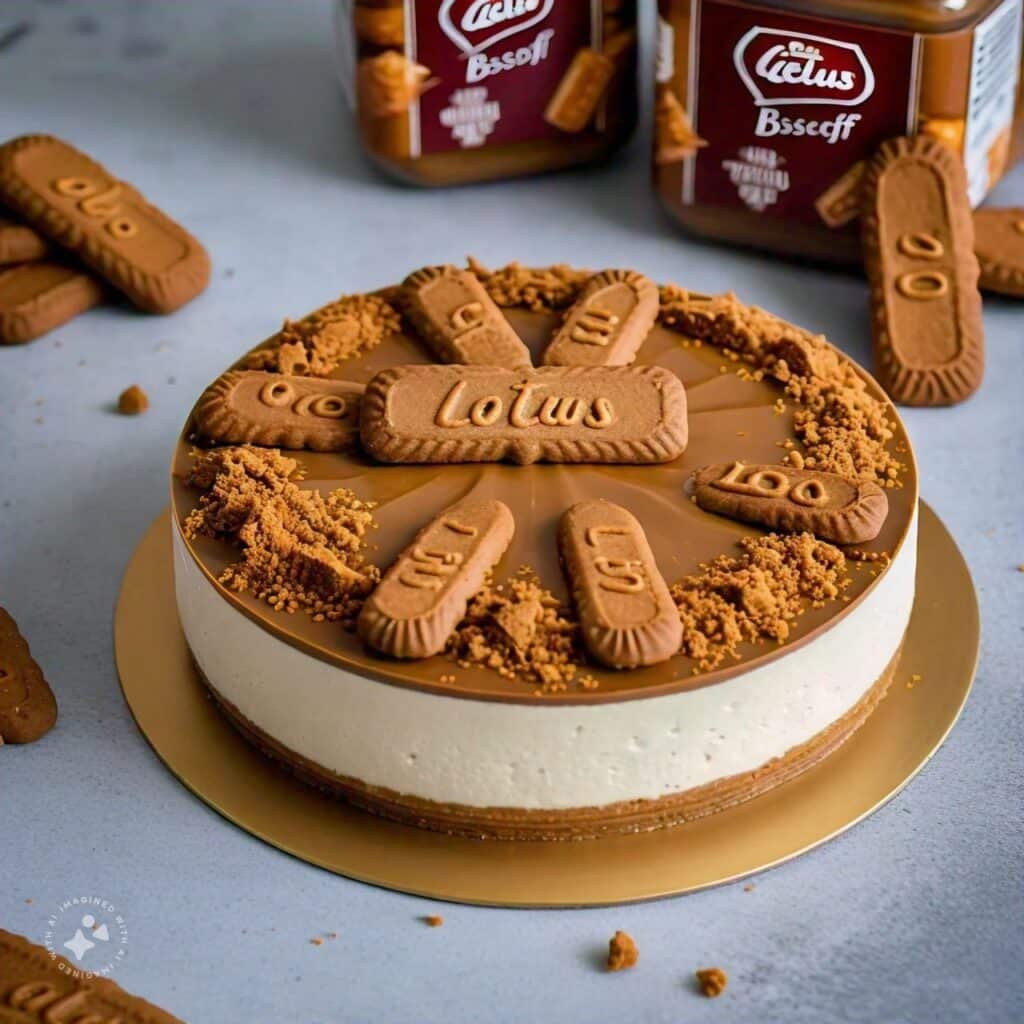
Scrape the filling onto the chilled base and spread it from the center outward. Tap the pan on the counter three or four times to knock out air pockets, then flatten the top with an offset spatula or the back of a spoon. A level surface matters more than it looks: the topping needs to pour in one even sheet instead of pooling in a dip.
-
 9
9Chill until it's genuinely firm
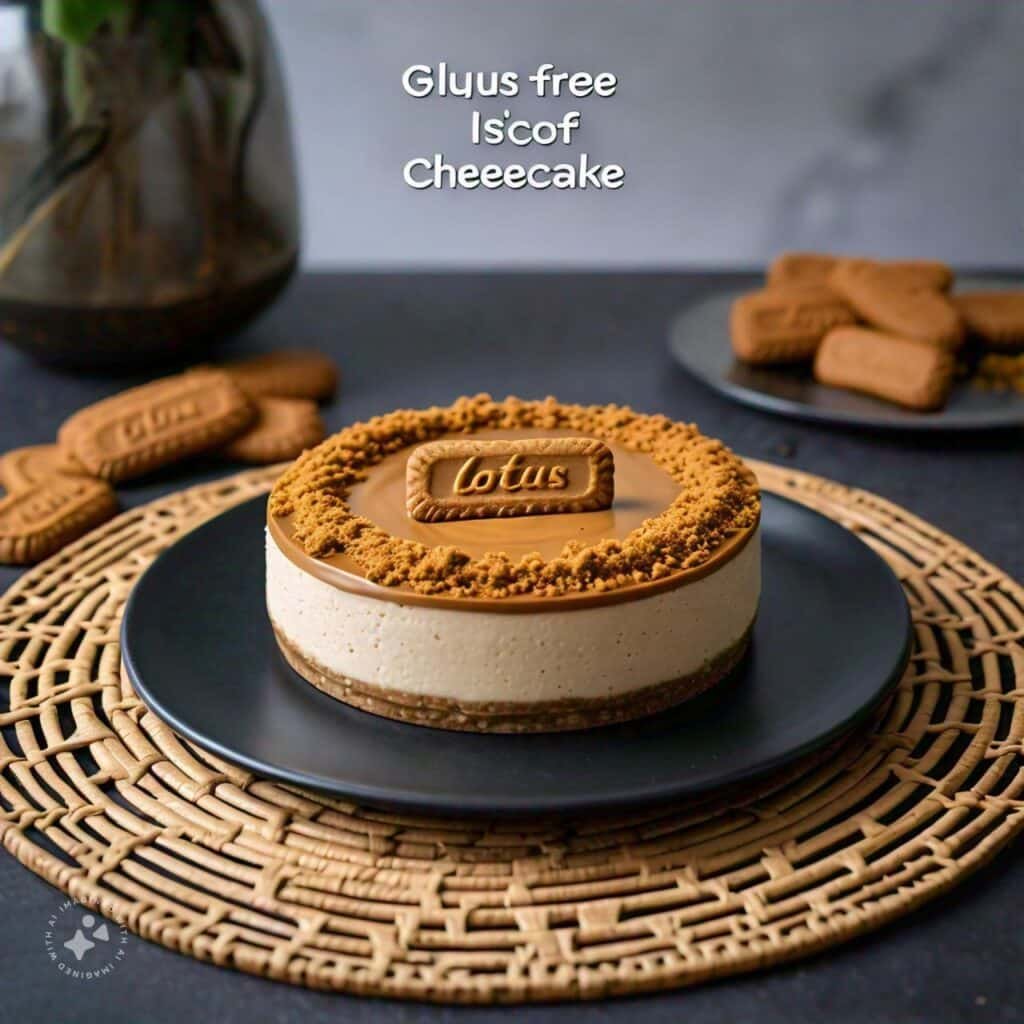
Cover loosely and refrigerate at least 4 hours, though overnight is better and day two is best of all. It's ready when you press the center and it feels cold and firm, springing back without leaving a dip. Keep it on a middle shelf rather than in the door, where the temperature swings every time someone reaches for the milk.
-
10
Warm the topping, then pour
Microwave the remaining 100g of Biscoff spread in 10-second bursts, stirring between each, until it ribbons off the spoon and sinks back in about three seconds. Test it on your lip: barely warm, no hotter than bath water. Pour it into the center of the cold cheesecake and tilt the pan to walk it out to the edges. Too hot and it melts a channel into the filling; too cool and it sits there as a thick, tacky slab.
-
 11
11Finish, unmold and slice
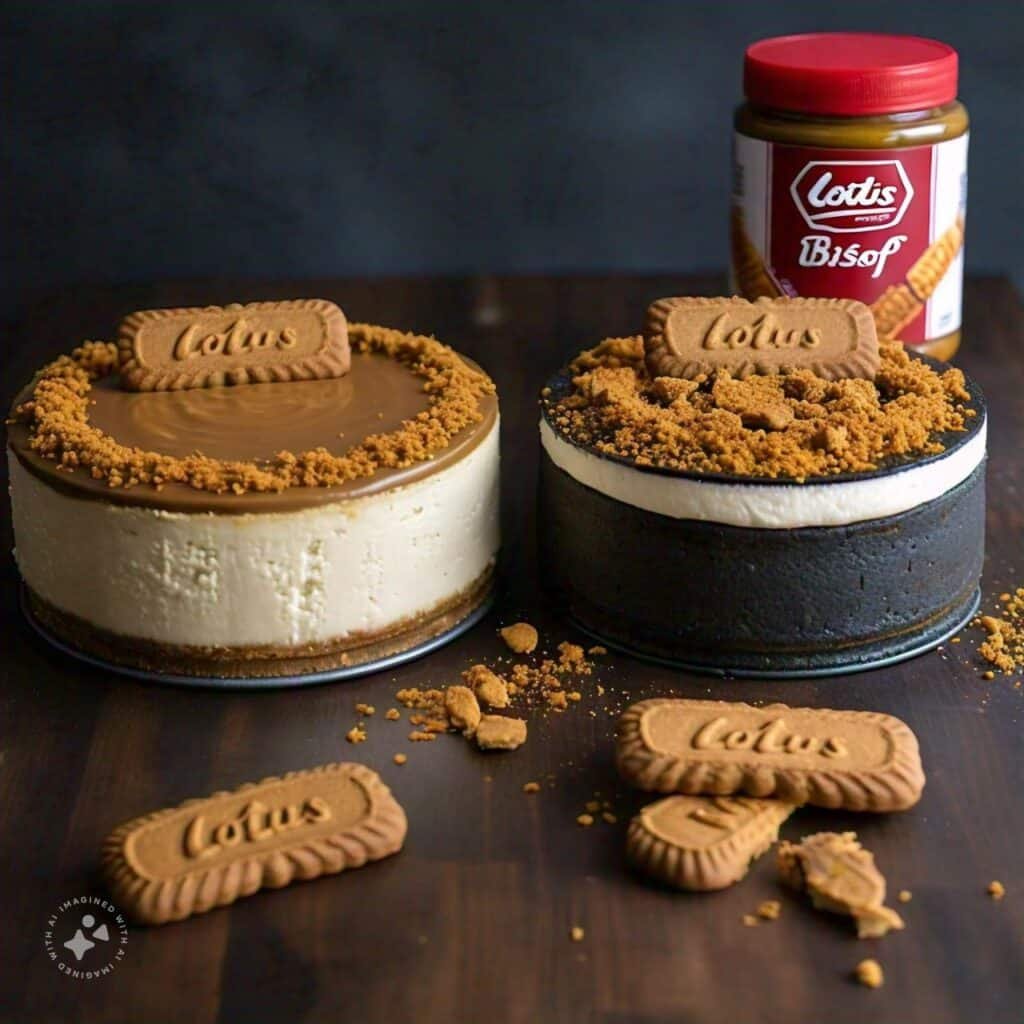
While the glaze is still tacky, press whole biscuits around the rim or stand a few upright in the center, then chill another 20 to 30 minutes so the topping sets glossy. Run a thin knife around the inside of the pan before you release the clasp. Slice with a blade dipped in hot water and wiped dry, cleaning it between every cut.
Troubleshooting
- The filling won't set — almost always low-fat or tub-style cream cheese, cream that stopped short of firm peaks, or cream cheese beaten so long it went liquid. Give it a full 24 hours cold before you judge it. If it's still loose, spoon it into glasses, scatter crumbs over and call it Biscoff mousse.
- Soggy or crumbly base — crumbly means not enough butter or not enough pressure; soggy means the butter went in scalding, or the filling landed on an unchilled base. Chill the pressed base 20 minutes and compact it with a flat measuring cup until the surface looks polished, not fluffy.
- Grainy filling — the cream went past firm peaks and started turning to butter. There's no complete fix once it splits, though folding in a splash of cold unwhipped cream smooths it a little. Next time whip on medium and stop at the first hint of texture at the bowl's edge.
- Topping sinks or cracks — sinking means the spread was too warm or the cheesecake wasn't set underneath. Cracking means the glaze went on too thick and shattered under a cold knife. Barely-warm spread, a fully set cake and a thin layer solve both, and letting cut slices sit 10 minutes softens the glaze.
- Messy slices — the base scatters and the filling smears down the blade. Serve it fridge-cold, dip a thin knife in hot water and wipe it dry before every cut, press straight down instead of sawing, and pull the blade out sideways rather than dragging it back up.
Pro tips
- Chill the bowl and beaters in the freezer for 10 minutes before whipping the cream. Cold equipment reaches firm peaks faster with less risk of overshooting.
- Set your 8 decorating biscuits aside before you weigh out the 200g for the base, since pack counts vary between sizes.
- Taste the filling before it goes in the pan. A pinch of fine salt sharpens the caramel and stops 100g of powdered sugar reading as flat sweetness.
- If your kitchen runs above 75°F, park the bowl in the fridge for 10 minutes between stages so the cream cheese never goes soft and greasy.
- Save a spoonful of crumbs to press around the sides after unmolding; it hides any gap where the base pulled away from the ring.
- Add the whole biscuits within a few hours of serving. They soften against the glaze after a full night in the fridge.
Variations & substitutions
- Salted Biscoff: a pinch of fine salt in the filling and flaky salt over the glaze, which pushes the caramel forward without turning it into the baked salted caramel version.
- Chocolate Biscoff: spread a thin layer of cooled ganache over the set filling, chill 15 minutes, then pour the warm Biscoff glaze on top.
- Mini cheesecakes: press the base into a lined 12-hole muffin tin or small jars and chill 2 hours instead of 4. They set faster and travel far better.
- Speculoos swap: any caramelized biscuit and cookie-butter spread works, so a store-brand speculoos gives the same cinnamon-caramel profile for less.
- Extra-firm set: for hot weather or a long car ride, bloom 1 teaspoon of gelatin in 2 tablespoons of cold water, melt it, cool to lukewarm and beat it into the cream cheese before folding.
- Crunch layer: scatter roughly crushed biscuits over the first half of the filling, then cover with the rest for a seam of texture through the middle.
Storage & make-ahead
Covered in the fridge it keeps 3 to 4 days, and it's honestly better on day two, when it's firmer and the spice has settled into the cream. Build it up to two days ahead, holding the whole biscuits back until a few hours before serving so they stay crisp. To freeze, chill it fully first, then wrap the whole cake or individual slices in plastic and foil for up to a month. Thaw overnight in the fridge, never on the counter, and add the glaze and biscuits after thawing.
Serving ideas
Serve it cold, and cut slimmer wedges than you think you need, because a triple-Biscoff slice is rich. Black coffee or espresso is the natural partner, since these biscuits were built for the side of a coffee cup in the first place. If you want something to cut through it, a few raspberries or sliced strawberries do more good on the plate than extra cream. A scatter of leftover crumbs makes even a slightly untidy slice look deliberate.
More recipes to try
Once a jar of cookie butter is open in my kitchen, it rarely lasts the week. The Biscoff salted caramel cheesecake is the richer cousin of this one, with a salty edge cutting through all that sweetness. On hot days I skip the springform for Biscoff tiramisu, and when it's just me, a five-minute Biscoff mug cake settles the craving.
Recipe
Lotus Biscoff Cheesecake Recipe
Lotus Biscoff is a famous cookie made to be savored with coffee. These crispy cookies, which have caramel undertones and a hint of toasty spices, are becoming increasingly popular due to their availability on airlines. Building on the cookies' success, Lotus produced Biscoff Cookie Butter, a spread as popular as Nutella. Smooth and rich, it mimics the caramel and spice flavors of the cookies, making it a popular dessert ingredient.
Ingredients
- For the Base:
- 200g Lotus Biscoff biscuits (crushed)
- 100g unsalted butter (melted)
- For the Cheesecake Filling:
- 500g cream cheese (room temperature)
- 200ml heavy cream
- 100g powdered sugar
- 1 teaspoon vanilla extract
- 200g Lotus Biscoff spread (smooth)
- For the Topping:
- 100g Lotus Biscoff spread (melted)
- Lotus Biscoff biscuits (for decoration)
Instructions
- Prepare the Base:
- Crush the Lotus Biscoff biscuits into fine crumbs using a food processor, or seal them in a bag and crush with a rolling pin. Aim for sand, with nothing bigger than a grain of rice.
- Mix the crushed biscuits with melted butter until every crumb looks damp.
- Press the mixture firmly into the base of a 9-inch springform pan, using the flat bottom of a measuring cup to compact it until the surface looks polished rather than fluffy.
- Refrigerate the base for at least 20 minutes while you make the filling.
- Make the Cheesecake Filling:
- In a large bowl, beat the cream cheese until completely smooth, scraping down the sides so no lumps survive.
- Beat in the powdered sugar and vanilla extract, then fold in the Lotus Biscoff spread until fully incorporated.
- In a separate chilled bowl, whip the heavy cream on medium speed to soft peaks that curl slightly off the beater. Stop the moment it looks grainy.
- Fold the whipped cream into the Biscoff mixture in two additions, stopping as soon as a ridge holds its shape for about a second. Folding rather than beating is what lets a no-bake filling set.
- Pour the filling over the chilled base and smooth the top with an offset spatula.
- Chill:
- Refrigerate the cheesecake for at least 4 hours, preferably overnight, until the centre feels firm to a light touch.
- Topping:
- Melt the Lotus Biscoff spread in 10-second bursts until it ribbons off the spoon and sinks back in about 3 seconds. It should feel barely warm, not hot.
- Pour or drizzle the melted Biscoff over the fully set cheesecake, then decorate with extra Lotus Biscoff biscuits. Topping after chilling is what keeps the glaze glossy instead of sinking into the filling.
Tips & notes
- Overbeating the Cream Cheese: Overbeating can incorporate too much air, causing the cheesecake to crack.
- Using Low-Fat Ingredients: Full-fat cream cheese and heavy cream are essential for a rich and creamy texture.
- Skipping the Chilling Time: The cheesecake needs adequate time to set. Rushing this process will result in a runny filling.
Watch how to make it
Nutrition · per serving (estimate)
Made this recipe?
Tap the stars to leave your rating — it helps other home cooks.
Frequently asked questions
Why is my no-bake Biscoff cheesecake not setting?
The usual causes are low-fat or spreadable tub cream cheese, cream that never reached firm peaks, or not enough time in the fridge. Use full-fat block cream cheese and cream with at least 35% fat, whip the cream until a lifted peak stands with only a slight curl, and chill at least 4 hours, ideally overnight. If it is still loose after a full 24 hours cold, spoon it into glasses and serve it as a Biscoff mousse.
Should the cream cheese be cold or at room temperature?
Cool but workable, not soft and greasy. Take it out of the fridge 20 to 30 minutes ahead, until it dents under a fingertip but still feels cold, roughly 60 to 65 degrees Fahrenheit. Cream cheese that has warmed all the way through beats loose, and a loose base mixture will not firm back up in the fridge.
Can I overbeat the filling?
Yes, and it is the most common mistake with this cheesecake. Overbeating cream cheese warms it and turns it liquid, while taking the cream past firm peaks makes the filling grainy. Beat the cheese just until smooth, whip the cream on medium speed, and fold the two together with a spatula rather than the mixer.
Do I need gelatin for this no-bake cheesecake?
No. Full-fat cream cheese, cold Biscoff spread and properly whipped cream set firm enough to slice on their own. Gelatin is only worth adding for hot weather, a long journey, or lower-fat ingredients: bloom 1 teaspoon in 2 tablespoons of cold water, melt it, cool to lukewarm and beat it into the cream cheese.
How long does it take to set?
At least 4 hours in the fridge, but overnight is better and it is firmest on day two. Press the center with a fingertip: it should feel cold and firm and spring back without leaving a dip. The longer and colder the set, the cleaner it slices.
When should I add the melted Biscoff topping?
After the cheesecake is fully set, never before. Warm the spread in 10-second bursts until it ribbons off a spoon and sinks back in about three seconds, then test it on your lip: it should be barely warm. Hot spread melts a channel down into the filling, and topping an unset cheesecake makes the whole layer sink.
How do I get clean slices?
Serve it straight from the fridge and use a thin, sharp knife dipped in hot water and wiped dry. Press straight down instead of sawing, pull the blade out sideways rather than dragging it back up, and wipe it clean between every cut. A well-compacted base matters too, since loosely pressed crumbs scatter.
How is this different from the Biscoff salted caramel cheesecake?
That one is baked, richer, and layered with salted caramel, so it is a longer project with an oven and a cooling schedule. This version is no-bake and leads with the biscuit and cookie-butter flavor on its own. A classic baked cheesecake is different again, needing a water bath and a slow cool to avoid cracks.
What can I use instead of Biscoff?
Any caramelized speculoos-style biscuit and cookie-butter spread gives the same warm cinnamon-caramel flavor. The biscuits go into the base and on top, and the spread flavors both the filling and the glaze. Make sure the spread is the smooth style, since crunchy versions leave grit that drags the knife through the slices.
Can I freeze it?
Yes. Chill it fully first, then wrap the whole cake or individual slices in plastic and foil and freeze for up to a month. Thaw overnight in the fridge rather than on the counter, and add the glaze and whole biscuits after thawing so the topping stays glossy and the biscuits stay crisp.

Leave a review