
Red Velvet Molten Lava Cakes -- The Ultimate Gooey Treat You'll Love
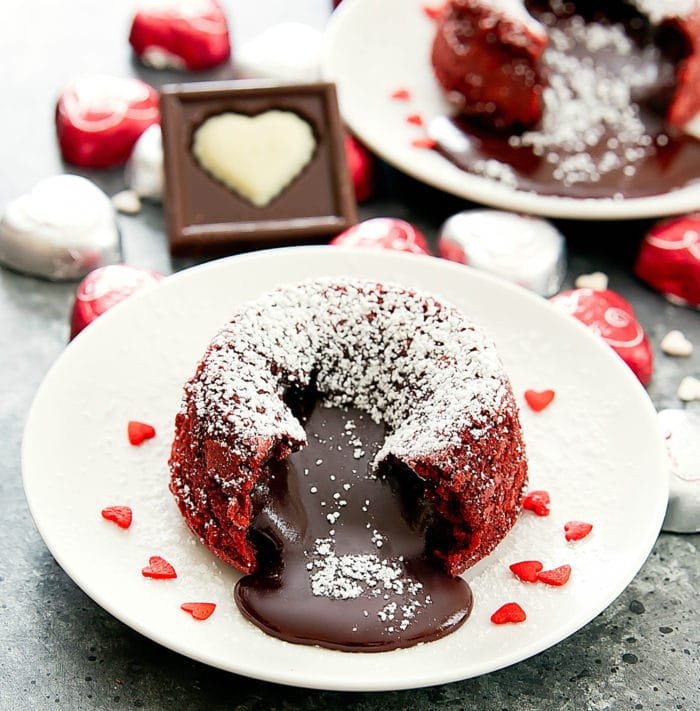
These red velvet molten lava cakes hide a warm, flowing chocolate centre inside a tender, scarlet cocoa sponge that spills out the moment you cut in. They bake in ramekins in about ten minutes, so you get that dramatic restaurant dessert as four individual cakes, made to order.
Why you'll love this
- A molten, flowing centre in every single cake
- Bakes in just 10 to 12 minutes for four individual servings
- Striking red velvet colour with genuine melted-chocolate richness
- The batter can be made ahead and baked off exactly when you want them
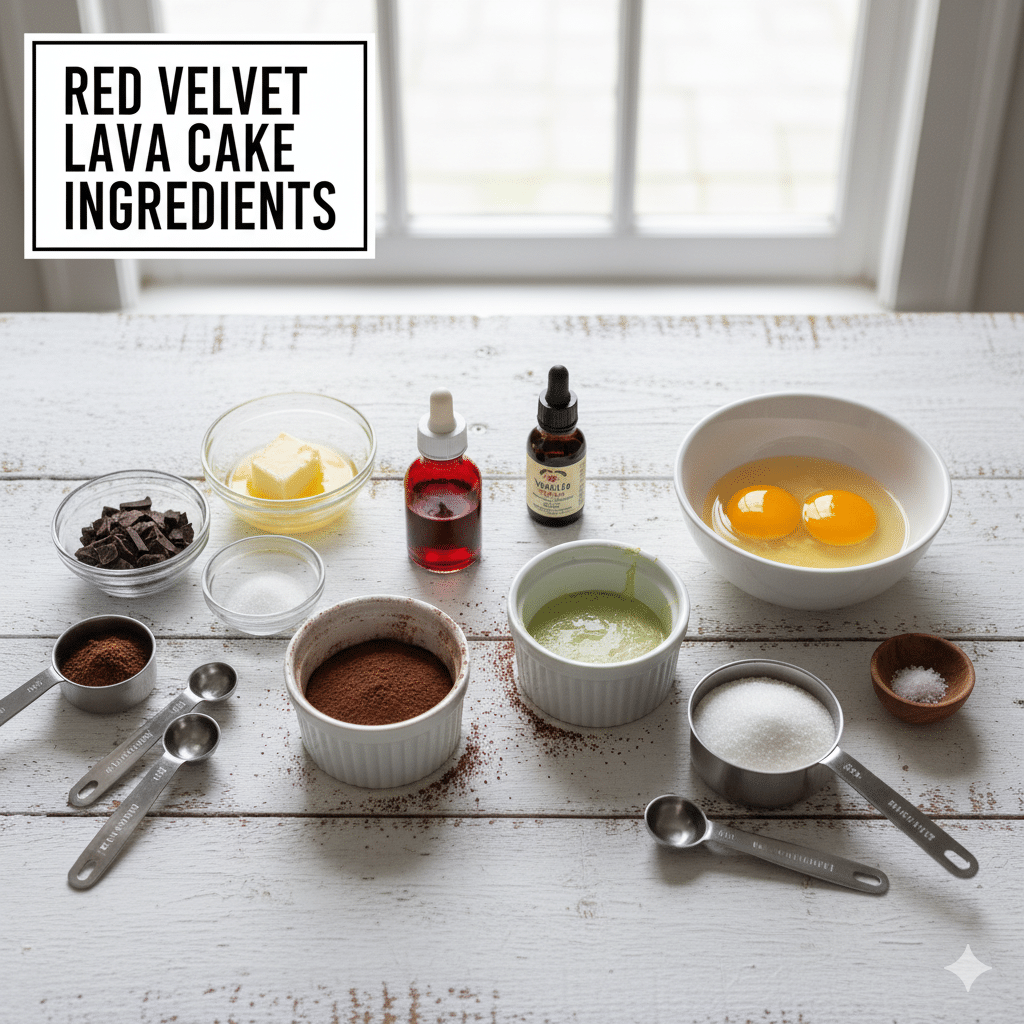
Key ingredients & swaps
- Semi-sweet chocolate and butter — the rich, molten core; melt them together gently and slowly so the chocolate stays smooth and doesn't seize or turn grainy.
- Whole eggs plus extra yolks — the structure and that signature gooey set; the extra yolks add richness and help the edges firm up while the centre stays liquid.
- Sugar — sweetens and, whipped with the eggs, beats in a little air so the cakes rise and set at the edge while the middle stays soft.
- Flour (just a little) — only enough to hold the cakes together; keep it minimal, because too much flour bakes the centre solid instead of molten.
- Cocoa powder — deepens the chocolate and gives red velvet its classic cocoa note; sift it with the flour so it folds in without lumps.
- Red food colouring — the dramatic red velvet colour; gel colouring gives the most vivid result without thinning the batter.
How to make it (step by step)
-
 1
1Prep the ramekins
Heat the oven to 425F (220C). Butter the ramekins well, then dust them with cocoa powder instead of flour so the cakes release cleanly with no pale, floury coating.
-
2
Melt the chocolate
Gently melt the butter and chocolate together until smooth and silky, stirring so it doesn't catch. Let it cool slightly so it won't cook the eggs when combined.
-
3
Whip the eggs
Whisk the eggs, extra yolks and sugar with the vanilla and salt until pale and a little foamy. This whipped air is what helps the edges rise and set.
-
4
Combine and colour
Stir the melted chocolate into the egg mixture, then sift in the flour and cocoa and fold gently. Mix in the red food colouring until the batter is an even, vivid red.
-
5
Fill and bake
Divide the batter between the ramekins and bake 10 to 12 minutes. They are ready when the edges are set and puffed but the very centre still jiggles slightly - if in doubt, underbake.
-
6
Rest and invert
Let them sit for a minute, then run a thin knife around each edge, set a plate on top and confidently flip. Lift the ramekin away and serve hot, before the molten centre sets.
Pro tips
- Bake time is everything: set edges with a soft, wobbly centre is the target, and a minute too long sets the core solid. Test one ramekin first to dial in your oven.
- Dust the buttered ramekins with cocoa, not flour, so the cakes turn out cleanly with no white residue on a chocolate cake.
- Serve immediately - the lava only flows while hot, so invert and plate the moment they come out.
Variations
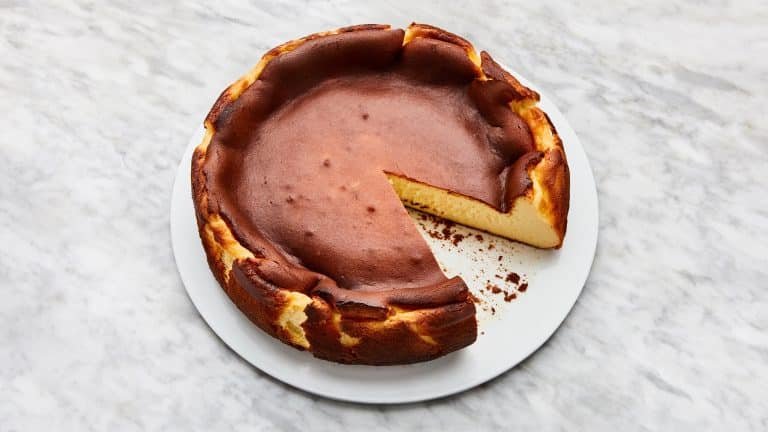
- Cream cheese centre: tuck a small frozen disc of sweetened cream cheese into each ramekin before baking for a red-velvet-meets-cheesecake middle.
- White chocolate drizzle: finish with a drizzle of melted white chocolate to echo classic red velvet frosting.
- Serve with: a scoop of vanilla ice cream or a few fresh raspberries to cut the richness.
Storage & freezing
These are best baked and eaten fresh, but you can refrigerate the filled, unbaked batter in the ramekins up to 24 hours - just add a couple of minutes to the bake time straight from the fridge.
Recipe
Red Velvet Molten Lava Cakes u002du002d The Ultimate Gooey Treat You'll Love
Ingredients
- ¼ cup unsalted butter
- 2 oz semi-sweet chocolate
- 2 eggs + 2 yolks
- ⅓ cup sugar
- 2 tbsp cocoa powder
- ¼ cup + 2 tbsp flour
- 1 tsp vanilla
- 1–2 tsp red food coloring
- Pinch of salt
Instructions
- Pre-heat oven to 425degF (200degC). Cocoa powder can be used to dust and grease ramekins.
- Melt the butter and chocolate together until smooth.
- Whip eggs, yolks and sugar with vanilla, salt, and sugar until slightly foamy.
- Mix chocolate mixture with the mix.
- Fold gently after sifting in the flour and cocoa. Add red food coloring.
- Divide the mixture into ramekins, and bake for 10-12 minutes.
- Invert and serve hot with toppings.
Tips & notes
- Do not overbake, or the middle will not stay molten.
- For the best taste, use high-quality chocolate.
- You can refrigerate the batter up to 24 hours prior to baking.
Watch how to make it
Nutrition · per serving (estimate)
Made this recipe?
Tap the stars to leave your rating — it helps other home cooks.
Frequently asked questions
How do I know when lava cakes are done?
The edges should look set and slightly puffed while the very centre still jiggles when you nudge the ramekin. That soft middle is the molten lava, so when in doubt pull them early rather than late.
Why isn't my centre molten?
It was baked a little too long, or there was too much flour. Lava cakes are deliberately underbaked, and even an extra minute or an over-measured flour scoop can set the centre solid - test one ramekin to find your oven's sweet spot.
Can I make the batter ahead of time?
Yes. Fill the ramekins and refrigerate the unbaked batter for up to 24 hours, then bake straight from the fridge, adding a couple of minutes to the time. This makes them perfect for serving guests.
Why dust the ramekins with cocoa instead of flour?
Flour leaves a pale, chalky film on the outside of a dark chocolate cake. Buttering and dusting with cocoa lets the cakes release just as cleanly while keeping the surface a rich, even brown.
Why do I use extra egg yolks?
The extra yolks add richness and fat and help the cake set at the edges while keeping the centre soft and flowing. They are key to that contrast between a tender cake shell and a molten core.
How do I get the cakes out of the ramekins cleanly?
Let them rest about a minute, run a thin knife around the inside edge, then place a plate over the ramekin and flip confidently in one motion. Lift the ramekin straight up and the cake should drop neatly onto the plate.

Leave a review